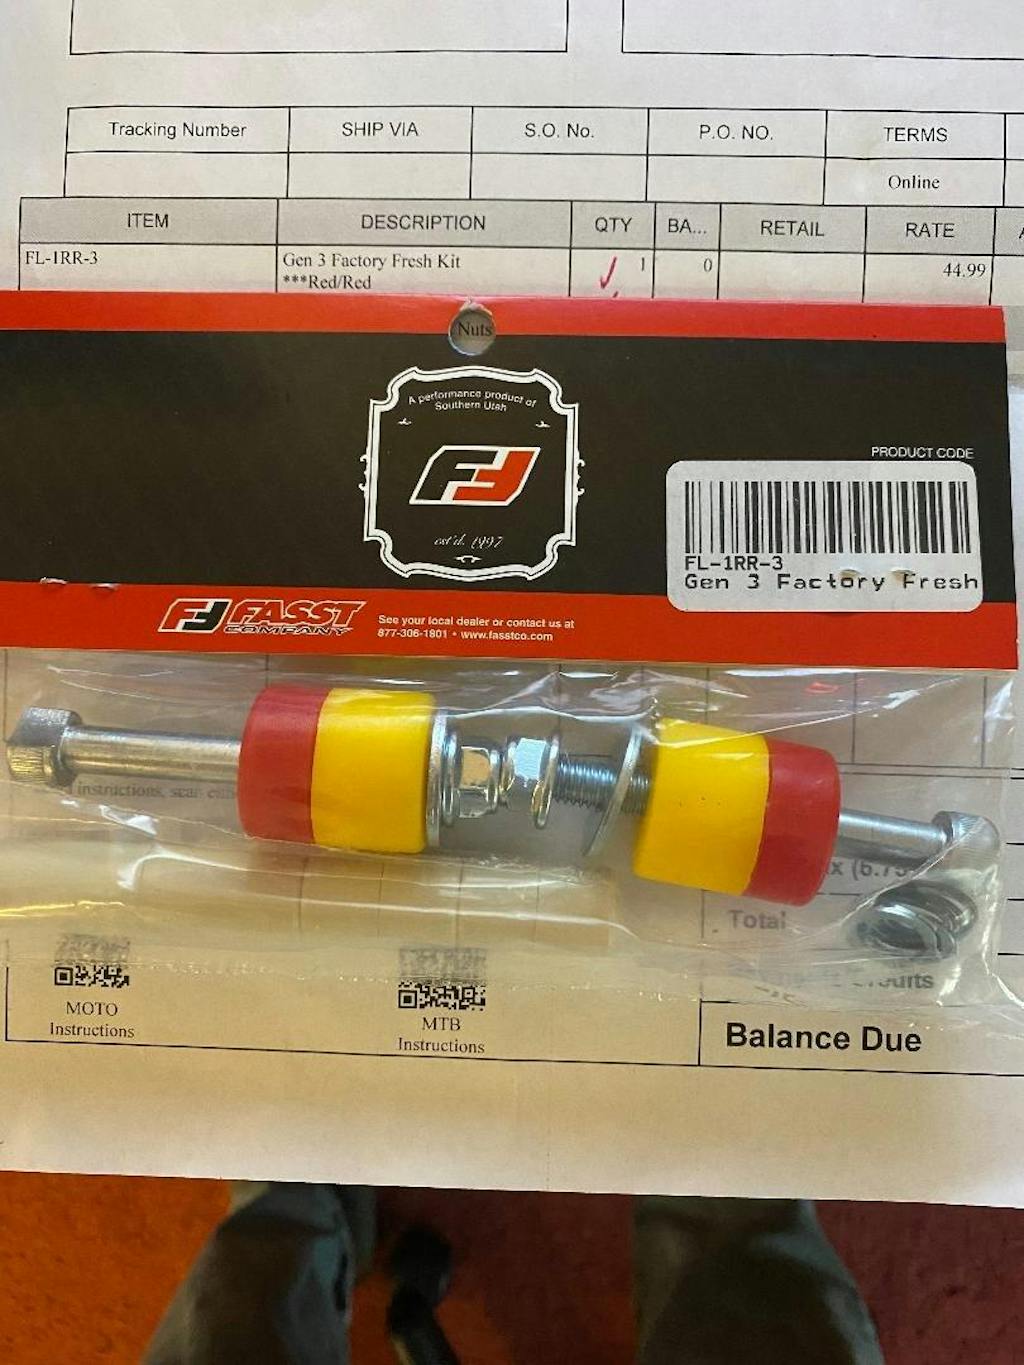
Flexx Handlebar Factory-Fresh Kit
Gen 1: As of March 20th, 2020 we have discontinued all Generation 1 Factory Fresh Kits and replacement parts. The gen 1 bar was manufactured from January 2002 through December 2009, if you're still on a generation 1 bar it's a minimum of 14 years old. A testament to the American Made quality you've come to expect from us and most likely the oldest performance part on your bike. If you're interested in upgrading to our current Generation 4 bar, shoot us a call or email, we're happy to help. 877.306.1801 / Ridersupport@fasstco.com
Here is an example of Gen 1 Bar grid:

Gen 2: The Gen 2 was made from January 2010 to March 2014.
Here is an example of a Gen 2 Bar grid, the biggest indicator being "With FB Technology":

Gen 3: The Gen 3 bar was made from April 2014 through July of 2022.
Here is an example of a Gen 3 Bar grid, the biggest indicator being "With FB3 Technology":

Gen 4: The Gen 4 bar is our current bar, we made the switch to the Gen 4 in August 2022. The notable difference from gen 3 to gen 4 is the length of the crossbars. For Gen 4 we went to one standard crossbar length. Our atv, enduro, moto, and adventure bars will use SHORT CROSSBARS ONLY.
Here is an example of a Gen 4 Bar grid, the biggest indicator being "With FB4 Technology":

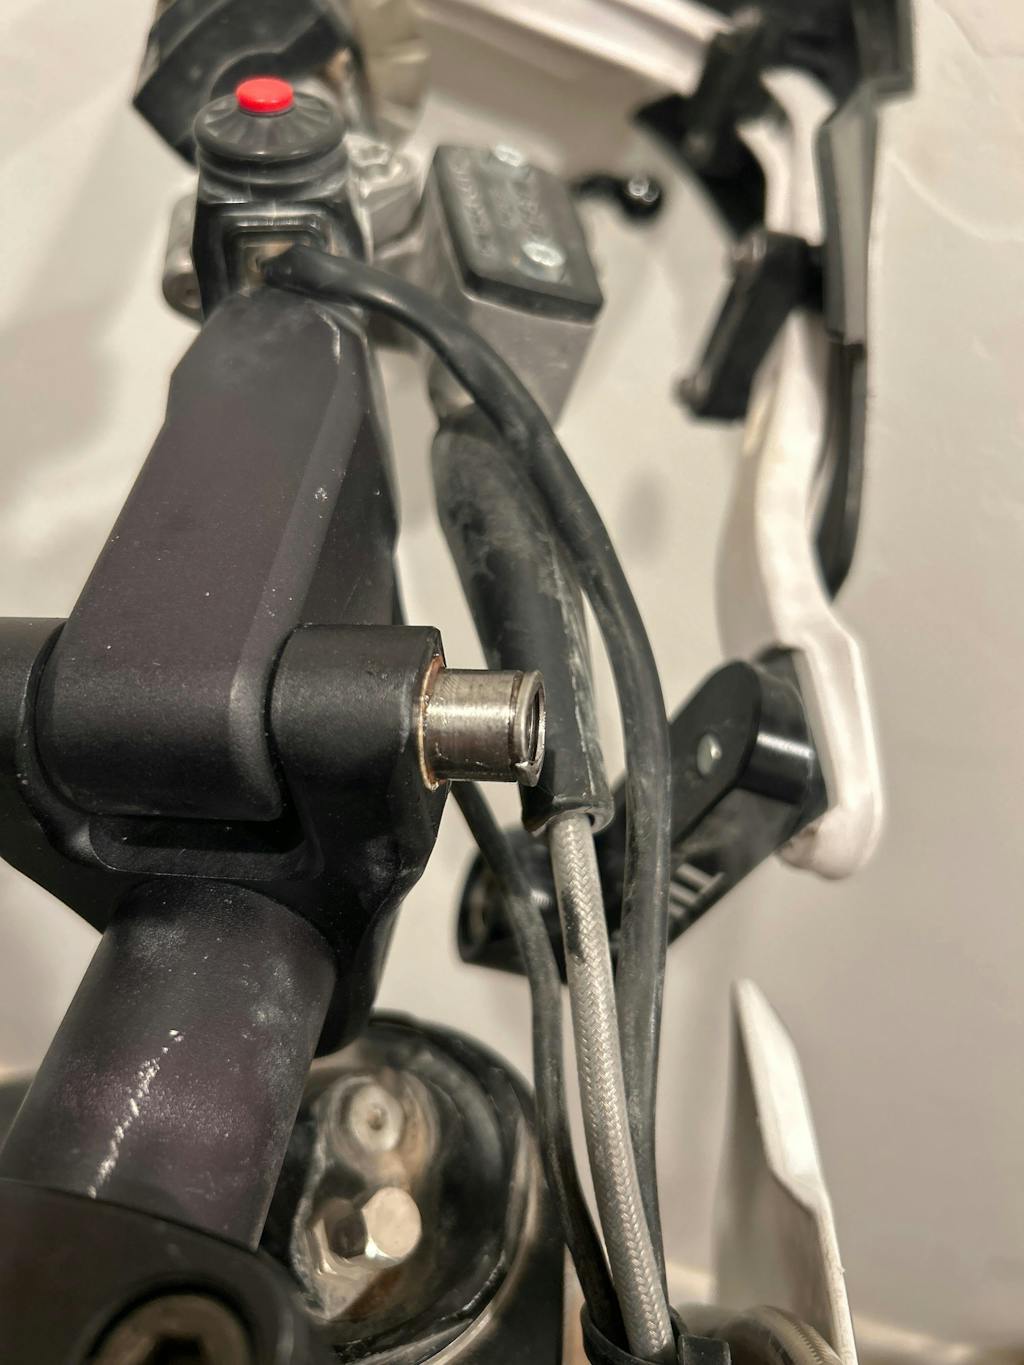
Low Bar - 68mm
The easiest way to decipher bar height is by the location of the elastomer bolt. Notice on the low bar in the photo below, the elastomer bolt threads directly into the center section. There's a locking nut pressed into the center tube, so no elastomer nut is visible.

Standard Bar - 92mm
Again, the easiest way to determine the bar height is based on the elastomer bolt. Notice below on the standard height bar that the entire elastomer bolt is visible. However, the bolt head is machined and it's resting on the 1 1/8" center tube.

Tall Bar - 116mm
Notice in the photo below, on the tall bar the entire elastomer bolt is visible but there's no need for the machined bolt heads as there's about an inch between the elastomer bolt head and the 1 1/8" center tube.